Understanding how to create precise internal and external threads is essential, and lathe machines play a significant role in the process.
In this article, we’ll walk you through the step-by-step process of using a lathe machine for threading, helping you achieve professional results.
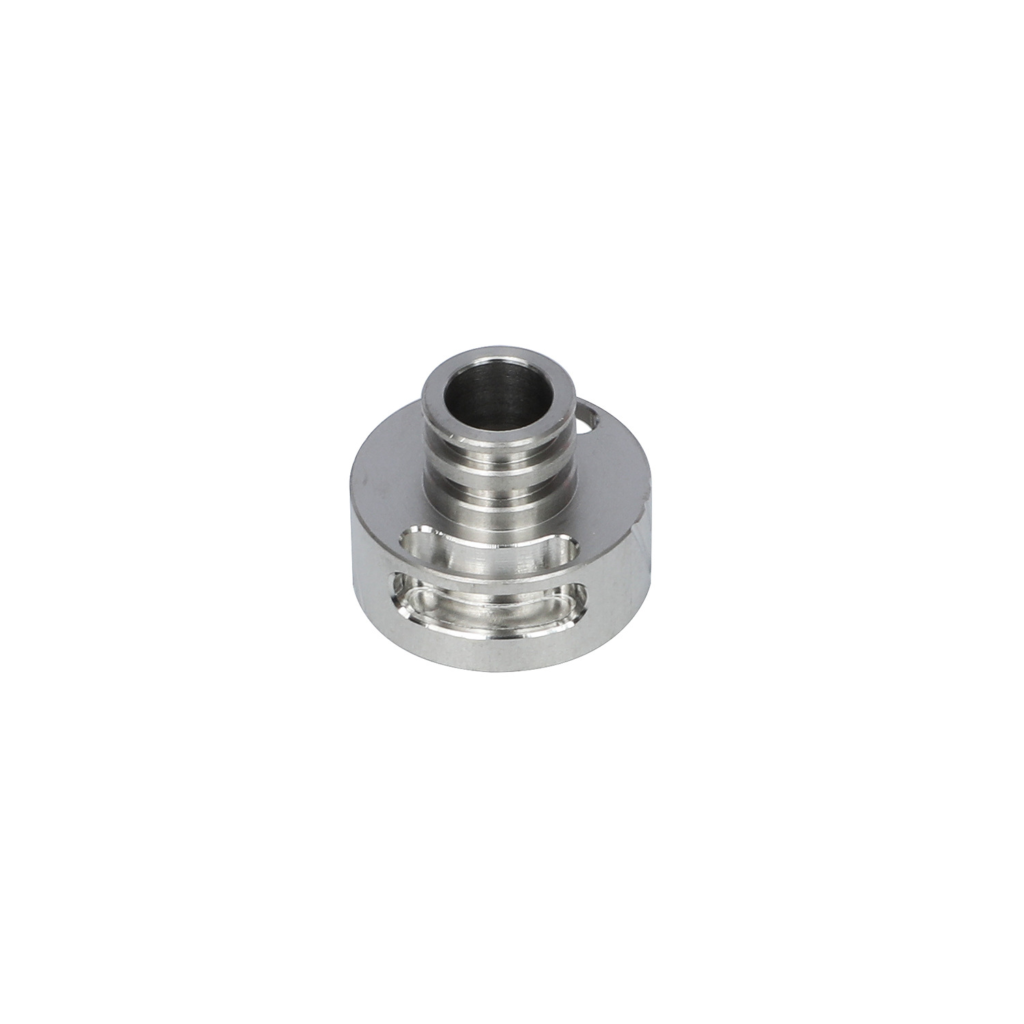
Using a lathe machine to cut internal and external threads involves setting up the machine correctly, choosing the right tools, and following a precise process.
For external threads, the workpiece is clamped in the lathe chuck, and a threading die is used. For internal threads, a tap is employed, and cutting spray is used to reduce friction and ensure clean cuts.
Let’s dive into the detailed steps and techniques to help you become proficient in threading with a lathe machine.
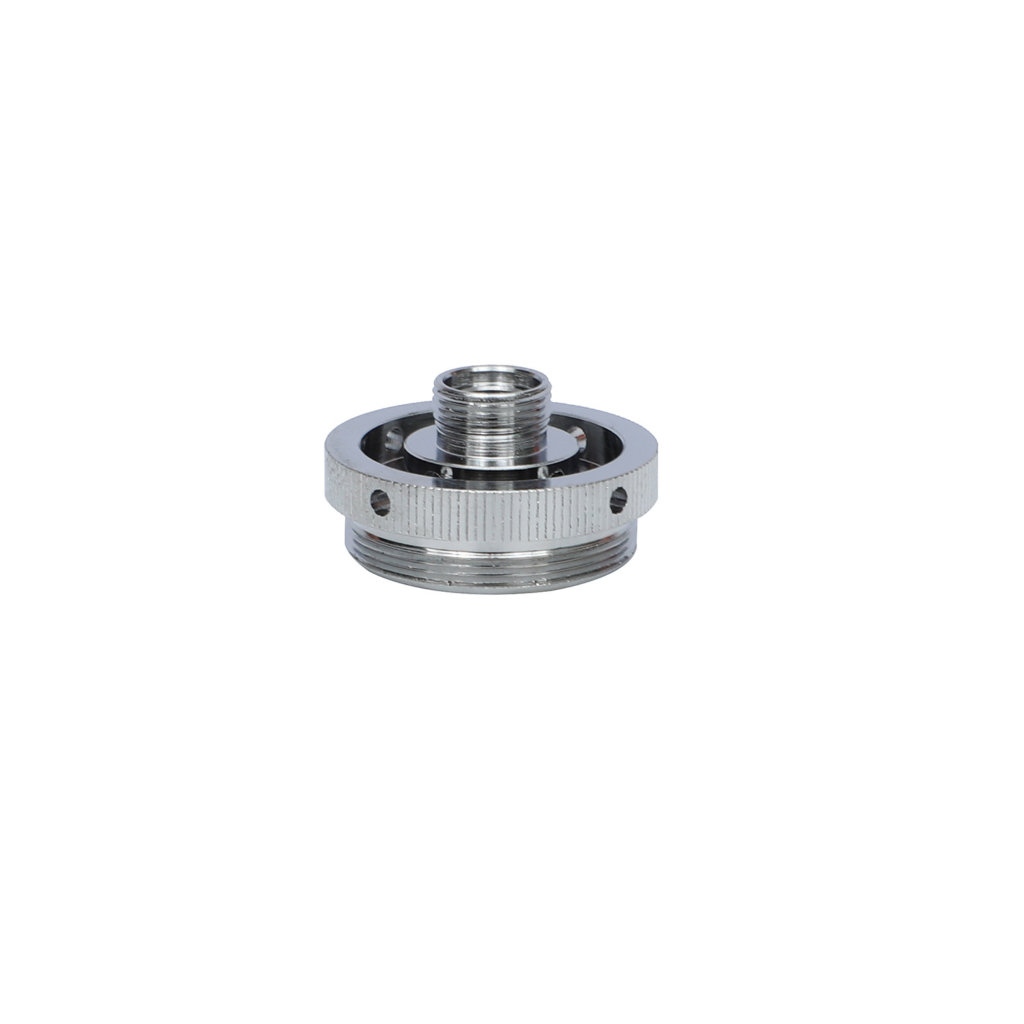
How to Set Up the Lathe for Threading
1. Speed Settings: Reduce the lathe speed to about one quarter of the normal turning speed for threading. For instance, if your regular speed is 1000 RPM, set it to around 250 RPM. This slower speed allows for better control and helps prevent tool damage, which is crucial for precise threading.
2. Gearbox Adjustments: Adjust the quick-change gearbox to the required pitch for your thread. Refer to the lathe’s manual or threading chart on the machine. Correct pitch settings ensure threads match the desired dimensions and standards.
3. Compound Rest Positioning: Set the compound rest at a 29-degree angle for cutting right-hand threads. This angle distributes cutting forces evenly, reducing load on the tool, and produces cleaner, more precise threads.
4. Tool Bit Installation: Install a 60-degree threading tool bit, standard for most threads. Ensure the tool bit is at the correct height and aligned with the lathe’s center point using a center gauge or height gauge.
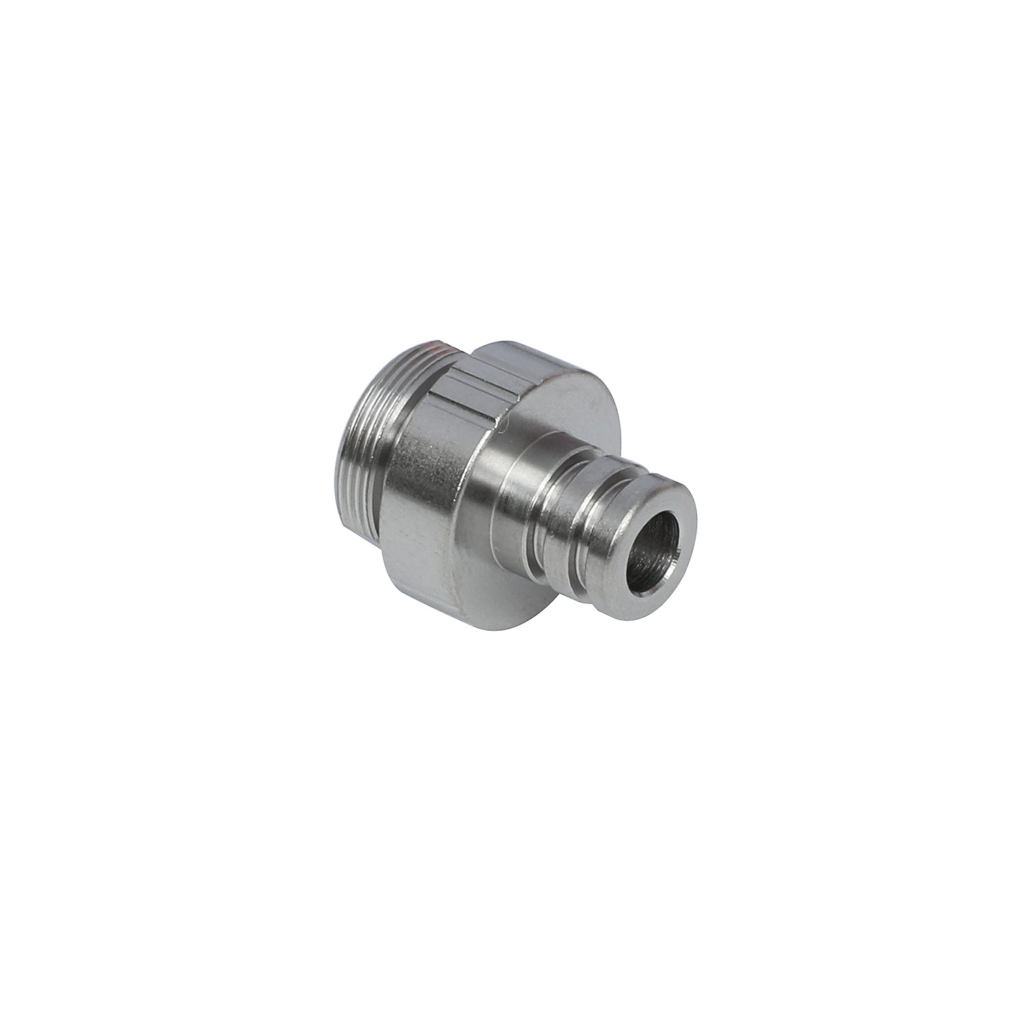
Performing External Threading
1. Clamping the Workpiece: Secure the workpiece tightly in the lathe chuck to prevent movement during threading. Use a three-jaw or four-jaw chuck, depending on the workpiece shape and size. Ensure the workpiece is centered and aligned correctly to avoid runout, which affects thread accuracy.
2. Using a Die Handle: Use a die handle to hold and rotate the threading die evenly and with consistent pressure, producing uniform threads. Choose a die matching the desired thread size and type, and securely attach it to the die handle for proper leverage and control.
3. Steps for Threading with a Die:
Initial Setup: Clamp the workpiece in the lathe chuck, position the threading die at the starting point, and apply cutting oil to reduce friction and improve thread quality.
First Pass: Start the lathe at the predetermined speed, engage the lead screw, and guide the die along the workpiece to cut the initial starter thread.
Subsequent Passes: Withdraw the die after each pass, adjust the depth of cut slightly, and repeat until the desired thread depth is achieved, removing a small amount of material each time to avoid overloading the die.
Final Checks: Use a thread gauge to check thread accuracy. The gauge should fit snugly without excessive play, indicating correctly formed threads.
Cutting Internal Threads
1. Using a Try Square for Alignment: Ensure the tap is at right angles to the workpiece by using a try square. This alignment is crucial for cutting straight and accurate internal threads, reducing the risk of crooked or misaligned threads.
2. Applying Cutting Spray: Apply cutting spray or fluid generously to both the tap and workpiece. This reduces friction, cools the cutting edges, and improves chip removal, extending the tap’s life and achieving clean, precise threads.
3. Step-by-Step Tapping Process:
Initial Setup: Secure the workpiece in the lathe chuck, ensuring it is firmly held in place. Position the tap at the opening of the pre-drilled hole.
Starting the Tap: Start the lathe at a slow speed, and carefully engage the tap with the workpiece. Ensure the tap is aligned correctly to avoid cross-threading.
Cutting the Threads: Allow the tap to cut into the workpiece with steady pressure, periodically backing off to clear chips and prevent binding.
Finishing the Threads: Continue the process until the tap reaches the desired thread depth. Withdraw the tap and clean the threads to remove any debris.
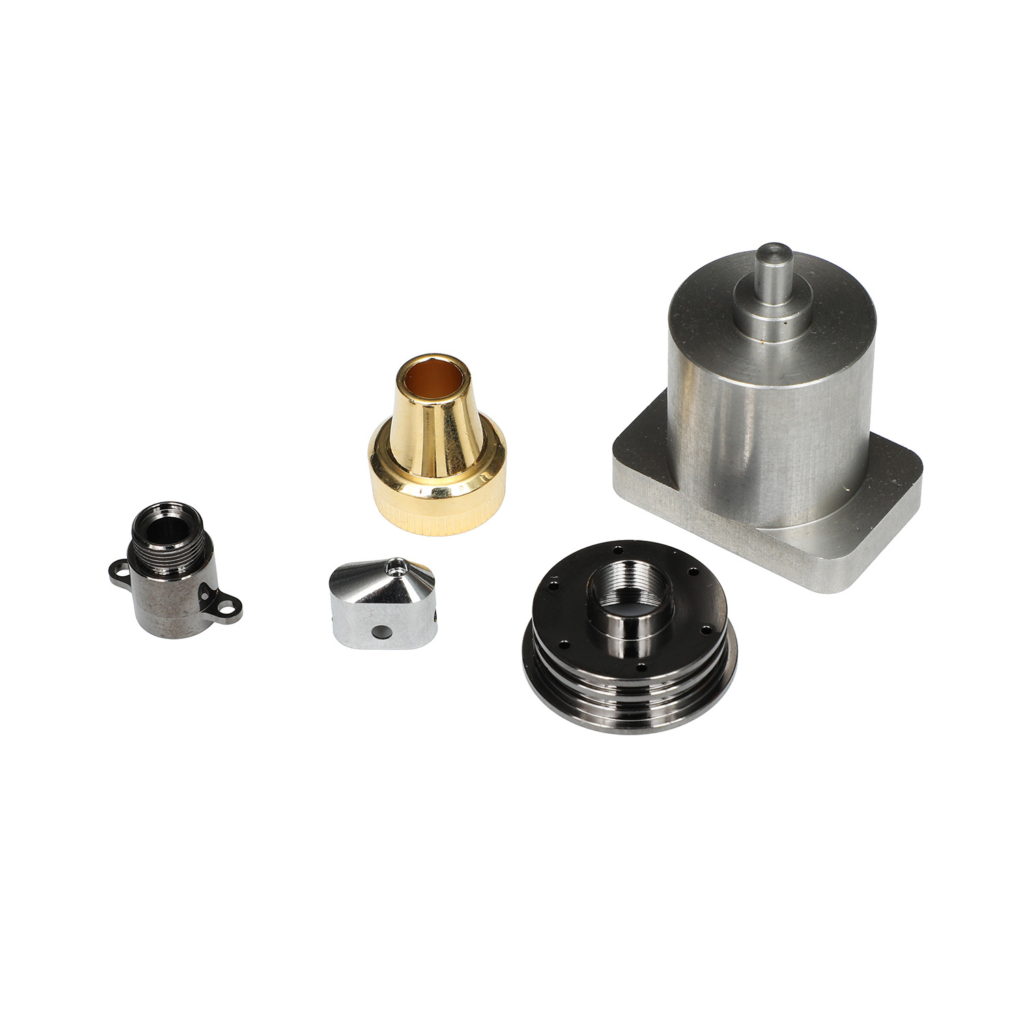
Advanced Thread Cutting Technique
Thread Milling:
Thread milling is an advanced method for cutting both internal and external threads using a thread mill. This technique is highly precise and allows for the creation of threads with complex profiles.
Advantages: Thread milling offers greater flexibility and accuracy compared to traditional threading methods. It allows for the creation of various thread profiles and pitches with a single tool.
Internal Threads: For cutting internal threads, use an internal thread mill. Ensure the thread mill is properly aligned with the pre-drilled hole. Follow the same setup and cutting process as described for external threads.
External Threads: For external threads, use an external thread mill. Align the thread mill with the workpiece axis and follow the same procedure as for internal threads. The key is to maintain proper alignment and depth settings to achieve accurate threads.
Common Issues and Troubleshooting
Avoiding Common Threading Mistakes:
Tool Alignment: Incorrect tool alignment can lead to poor thread quality and tool breakage. Always check the alignment before starting the threading process.
Speed Settings: Using the wrong speed settings can cause tool wear and thread damage. Ensure the lathe speed is set correctly for the threading operation.
Lubrication: Insufficient lubrication can result in rough or torn threads. Always use adequate cutting fluid to reduce friction and improve thread quality.
Loose Threads: If the threads are too loose, check the tool alignment and adjust the depth of cut. Verify that the threading tool is sharp and properly set up.
Rough Threads: For rough or torn threads, ensure the cutting tool is sharp and properly lubricated. Reduce the cutting speed if necessary to achieve smoother threads.
Summary:
Mastering a lathe machine for internal and external threads requires practice and attention to detail.
By following the steps outlined in this guide and using the right tools and techniques, you can achieve precise and professional-quality threads.
Proper setup, careful alignment, and consistent maintenance are key to successful threading operations.


